

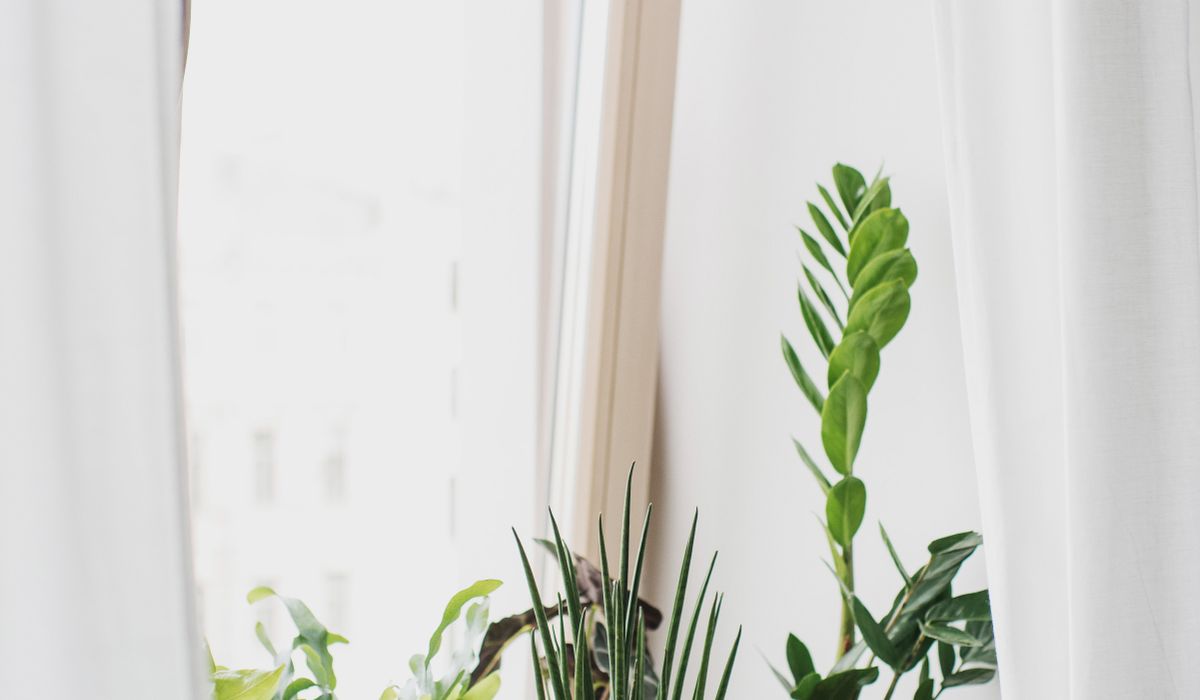
Spotting the Signs of a Root-Bound Plant
A plant that has outgrown its pot will usually tell you long before it starts to suffer. The clearest giveaway is roots pushing out through the drainage holes at the base, often pale and circling like a nest of noodles. Lift the pot and take a look — if you can see a dense mat of roots rather than a few stray tips, it is time to act.
Above the surface, the clues are subtler. Water runs straight through the pot and out the bottom within seconds, yet the compost barely darkens. The plant may need watering every day or two, wilting soon after a drink. You might notice the rootball shrinking away from the sides of the pot, or the whole plant becoming top-heavy and prone to toppling. Growth stalls, new leaves emerge smaller than usual, and older foliage turns yellow as the roots struggle to take up nutrients.
That said, not every snug plant needs rescuing. Snake plants, spider plants and peace lilies often flower and grow better when slightly crowded. Repot when the roots are genuinely congested, not simply because a year has passed.
Choosing the Right Pot Size
The most common repotting mistake is going too big. Choose a pot just 2–4cm wider across the top than the current one — roughly one size up. A modest increase gives roots somewhere to explore while keeping the compost volume manageable.
- Measure the existing pot's diameter across the rim, then add 2–4cm.
- Always check for drainage holes; a decorative outer pot is fine only if the inner one drains freely.
- Terracotta is heavier and helps stabilise top-heavy plants, but dries out faster than plastic or glazed ceramic.
- Scrub and rinse any reused pot, then soak terracotta in water for an hour so it does not wick moisture from the fresh compost.
Plunging a small plant into a vast pot leaves a mass of wet compost around a tiny rootball, and that is how root rot begins.
Timing, Compost and Preparation
Spring to early summer is ideal, when plants are actively growing and recover quickly. Water thoroughly the day before, so the rootball holds together and slides out more easily.
Use fresh, peat-free multipurpose compost — old compost is depleted, compacted and may harbour pests. For aroids, monsteras and similar epiphytic plants, mix in a couple of handfuls of orchid bark and perlite for extra drainage. Have a blunt knife, clean scissors, a chopstick or old fork, and a sheet of newspaper or a trug to catch the mess.
Loosening Tangled Roots Without Doing Damage
Turn the pot on its side and support the stems with one hand while you ease the pot away with the other. If it refuses to budge, tap the sides firmly or run a knife around the inside edge to break the seal. Never yank the plant by its stems.
Once free, you will often find a solid cylinder of roots wrapped tightly around the compost. Work from the outside in. Use your fingers to gently unravel the circling roots, teasing them downwards and outwards. A chopstick or the tines of a fork are excellent for combing through a dense mat.
If the rootball is badly matted, be bolder:
- Make three or four vertical cuts, about 2cm deep, down the sides of the rootball with clean scissors.
- Slice away the bottom-centimetre mat of coiled roots if it is thick and brown.
- Pull apart the base with your fingers so the roots point outwards rather than in a loop.
Breaking a few fine roots is harmless and actually stimulates new growth. Just avoid tearing at thick, fleshy anchor roots. If you must trim, remove no more than a third of the root mass, and only when the plant is healthy.
Potting Up and Settling In
Add a layer of fresh compost to the base of the new pot, then set the plant in and check the level. The crown — where stems meet roots — should sit at exactly the same height as before, roughly 2cm below the rim. Burying it deeper can cause rot.
Fill around the rootball in stages, gently firming with your fingertips to eliminate air pockets without compacting the compost. Tap the pot on the bench a couple of times to help it settle. Water thoroughly until it runs from the drainage holes, then top up any compost that has sunk. Resist firming it down hard; roots need air as much as moisture.
Caring for the Plant Afterwards
Keep your newly potted plant out of bright direct sun and away from cold draughts for a week or two — this is a shock to the system, and soft new roots scorch easily. Expect a little drooping; it usually passes within a few days.
Do not feed for four to six weeks, as fresh compost already contains enough nutrients, and excess salts can burn tender roots. Water as normal once the top few centimetres feel dry. After a fortnight, a slow-release feed or a diluted liquid feed every few weeks will keep growth strong through the season.



John Doe
14 January, 2022Having no content in post should have adverse..
Chauffina Carr
10 April, 2022We use these tests all time! Killer stuff!
Jim Séchen
16 July, 2022Thanks for all the comments, everyone!