

Why Leaf Mould Belongs in Your Houseplant Mix
Every October, our streets, parks and gardens hand us a free gift by the sackful. Fallen leaves are one of the finest soil improvers you can lay your hands on, and making leaf mould costs nothing but a bit of patience. Unlike garden compost, which is made by bacteria working through green and brown waste, leaf mould is largely the work of fungi. The result is a dark, crumbly, sweet-smelling material that holds water beautifully while still draining freely — exactly the qualities that keep aroids, ferns, begonias and calatheas happy in pots.
It is not a fertiliser. Leaf mould contains very little in the way of nitrogen, phosphorus or potassium, so don't expect it to feed anything. What it does is condition: it opens up a heavy mix, bulks out a peat-free blend, and gives roots that soft, friable texture they love.
Which Leaves Are Worth Collecting
Not all leaves break down at the same rate. Thin, soft leaves rot quickly and make the best mould, while thick, leathery or waxy leaves can sit around for years.
- Excellent: oak, beech, hornbeam, lime, birch, willow, apple and most deciduous hedging.
- Good, but slower: sycamore, horse chestnut, plane and ash — shred or chop these to speed things along.
- Avoid: thick evergreens such as laurel, holly, rhododendron and conifer needles, which are acidic, waxy and painfully slow. Walnut and eucalyptus are best left out too.
- Skip entirely: leaves carrying black spot, rust or mildew, and anything from a busy roadside, which may hold more pollution than you want in your potting mix.
If you only have room for one sack, go for oak or beech. They are the gold standard.
Bagging It Up: The Practical Bit
The simplest method is also the best. Wait until the leaves are damp — a day or two after rain is ideal — then rake them into a heap and stuff them into bags. Black bin liners work well, as do old compost sacks turned inside out or woven builder's bags, which let in more air.
Punch a handful of drainage holes in the base and sides of any plastic bag, then fill it loosely. Don't cram the leaves down; the fungi need air as much as moisture. Tie the top loosely, or leave it open, and stand the bags in a shady corner behind a shed or against a north-facing wall. Full sun will dry them out and slow everything down.
Two tricks make a real difference. First, mix in a handful of grass clippings, a little garden compost or a scoop of old leaf mould from last year — this introduces the fungi you want and adds the nitrogen that speeds decomposition. Second, run the mower over the pile before bagging, or chop the leaves with a spade in a bucket. Smaller pieces mean a finished product in half the time.
If you have space, a wire cage made from a roll of chicken wire is a brilliant alternative. Fill it, keep it damp, and turn it occasionally with a fork.
How Long, and How to Tell It's Ready
Patience is the only real ingredient. Small, chopped leaves in a warm, damp bag might be ready in nine to twelve months. Whole leaves in a cold corner can take two years.
You will know it is done when the leaves have lost all trace of their original shape and colour. A good leaf mould is dark brown to near-black, crumbly between your fingers, and smells pleasantly of woodland floor after rain. If you can still recognise a leaf, give it another six months.
Sieving, Storing and Using It in Pots
Before it goes anywhere near your houseplants, sieve the finished mould through a garden riddle. Twigs, acorns and any stubborn whole leaves go back into next year's bag. What falls through is what you want.
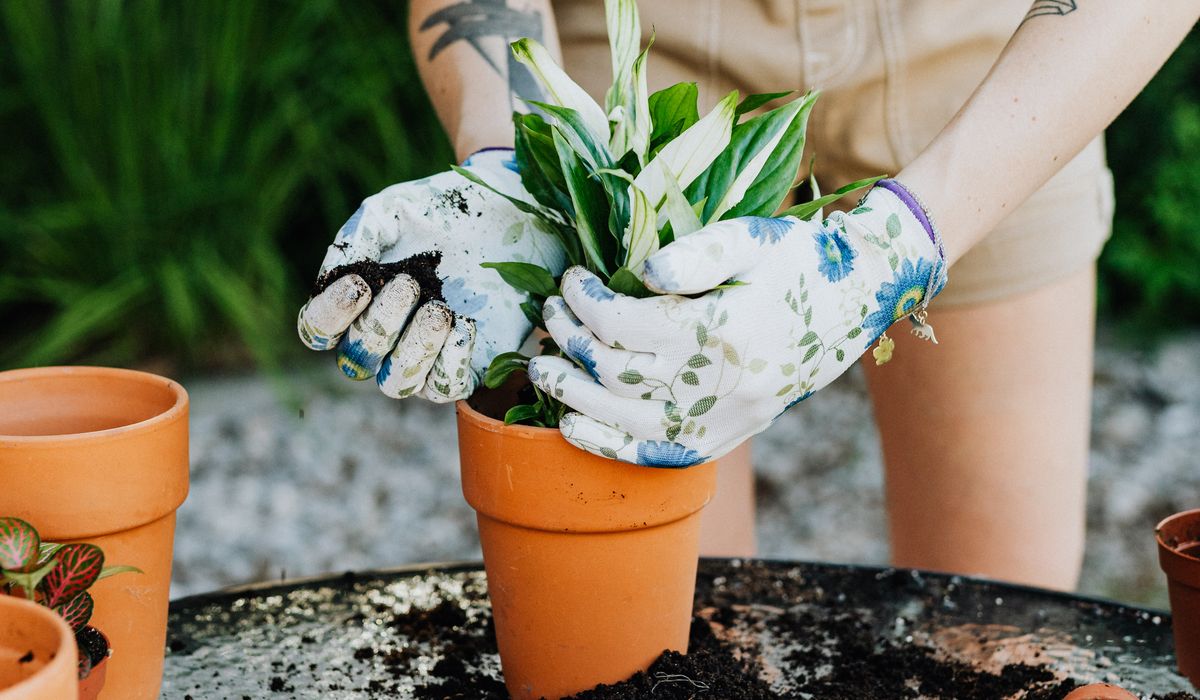
For indoor potting, mix leaf mould at around 20 to 30 per cent by volume with your usual compost and a handful of perlite or grit. A blend of two parts peat-free compost, one part leaf mould and one part perlite suits most tropical foliage plants beautifully. Ferns, philodendrons, monsteras, ficus and begonias all thrive on it. For cacti and succulents, keep it to 10 per cent or less, since they want a leaner, grittier mix.
Store the sieved mould in a lidded tub somewhere cool and dry. Because it is fully decomposed, it will not heat up or turn sour, and it keeps for years.
A Few Common Snags
If your bag turns into a slimy, smelly mess, it has gone anaerobic — too wet and too sealed. Tip it out, mix in some dry leaves or shredded cardboard, and repack it in a bag with more holes. If it dries out completely, the process simply stalls; give it a soak and start again.
Fungus gnats and slugs dislike well-rotted leaf mould, so as long as you use the finished, sieved stuff rather than half-rotted leaves, you should have no trouble indoors. A fortnight in a sealed tub in a cold shed or garage over winter adds an extra layer of reassurance.
Best of all, once you start, you never really stop. This autumn's bags become next year's potting mix, and your houseplants will quietly thank you for it.





John Doe
14 January, 2022Having no content in post should have adverse..
Chauffina Carr
10 April, 2022We use these tests all time! Killer stuff!
Jim Séchen
16 July, 2022Thanks for all the comments, everyone!